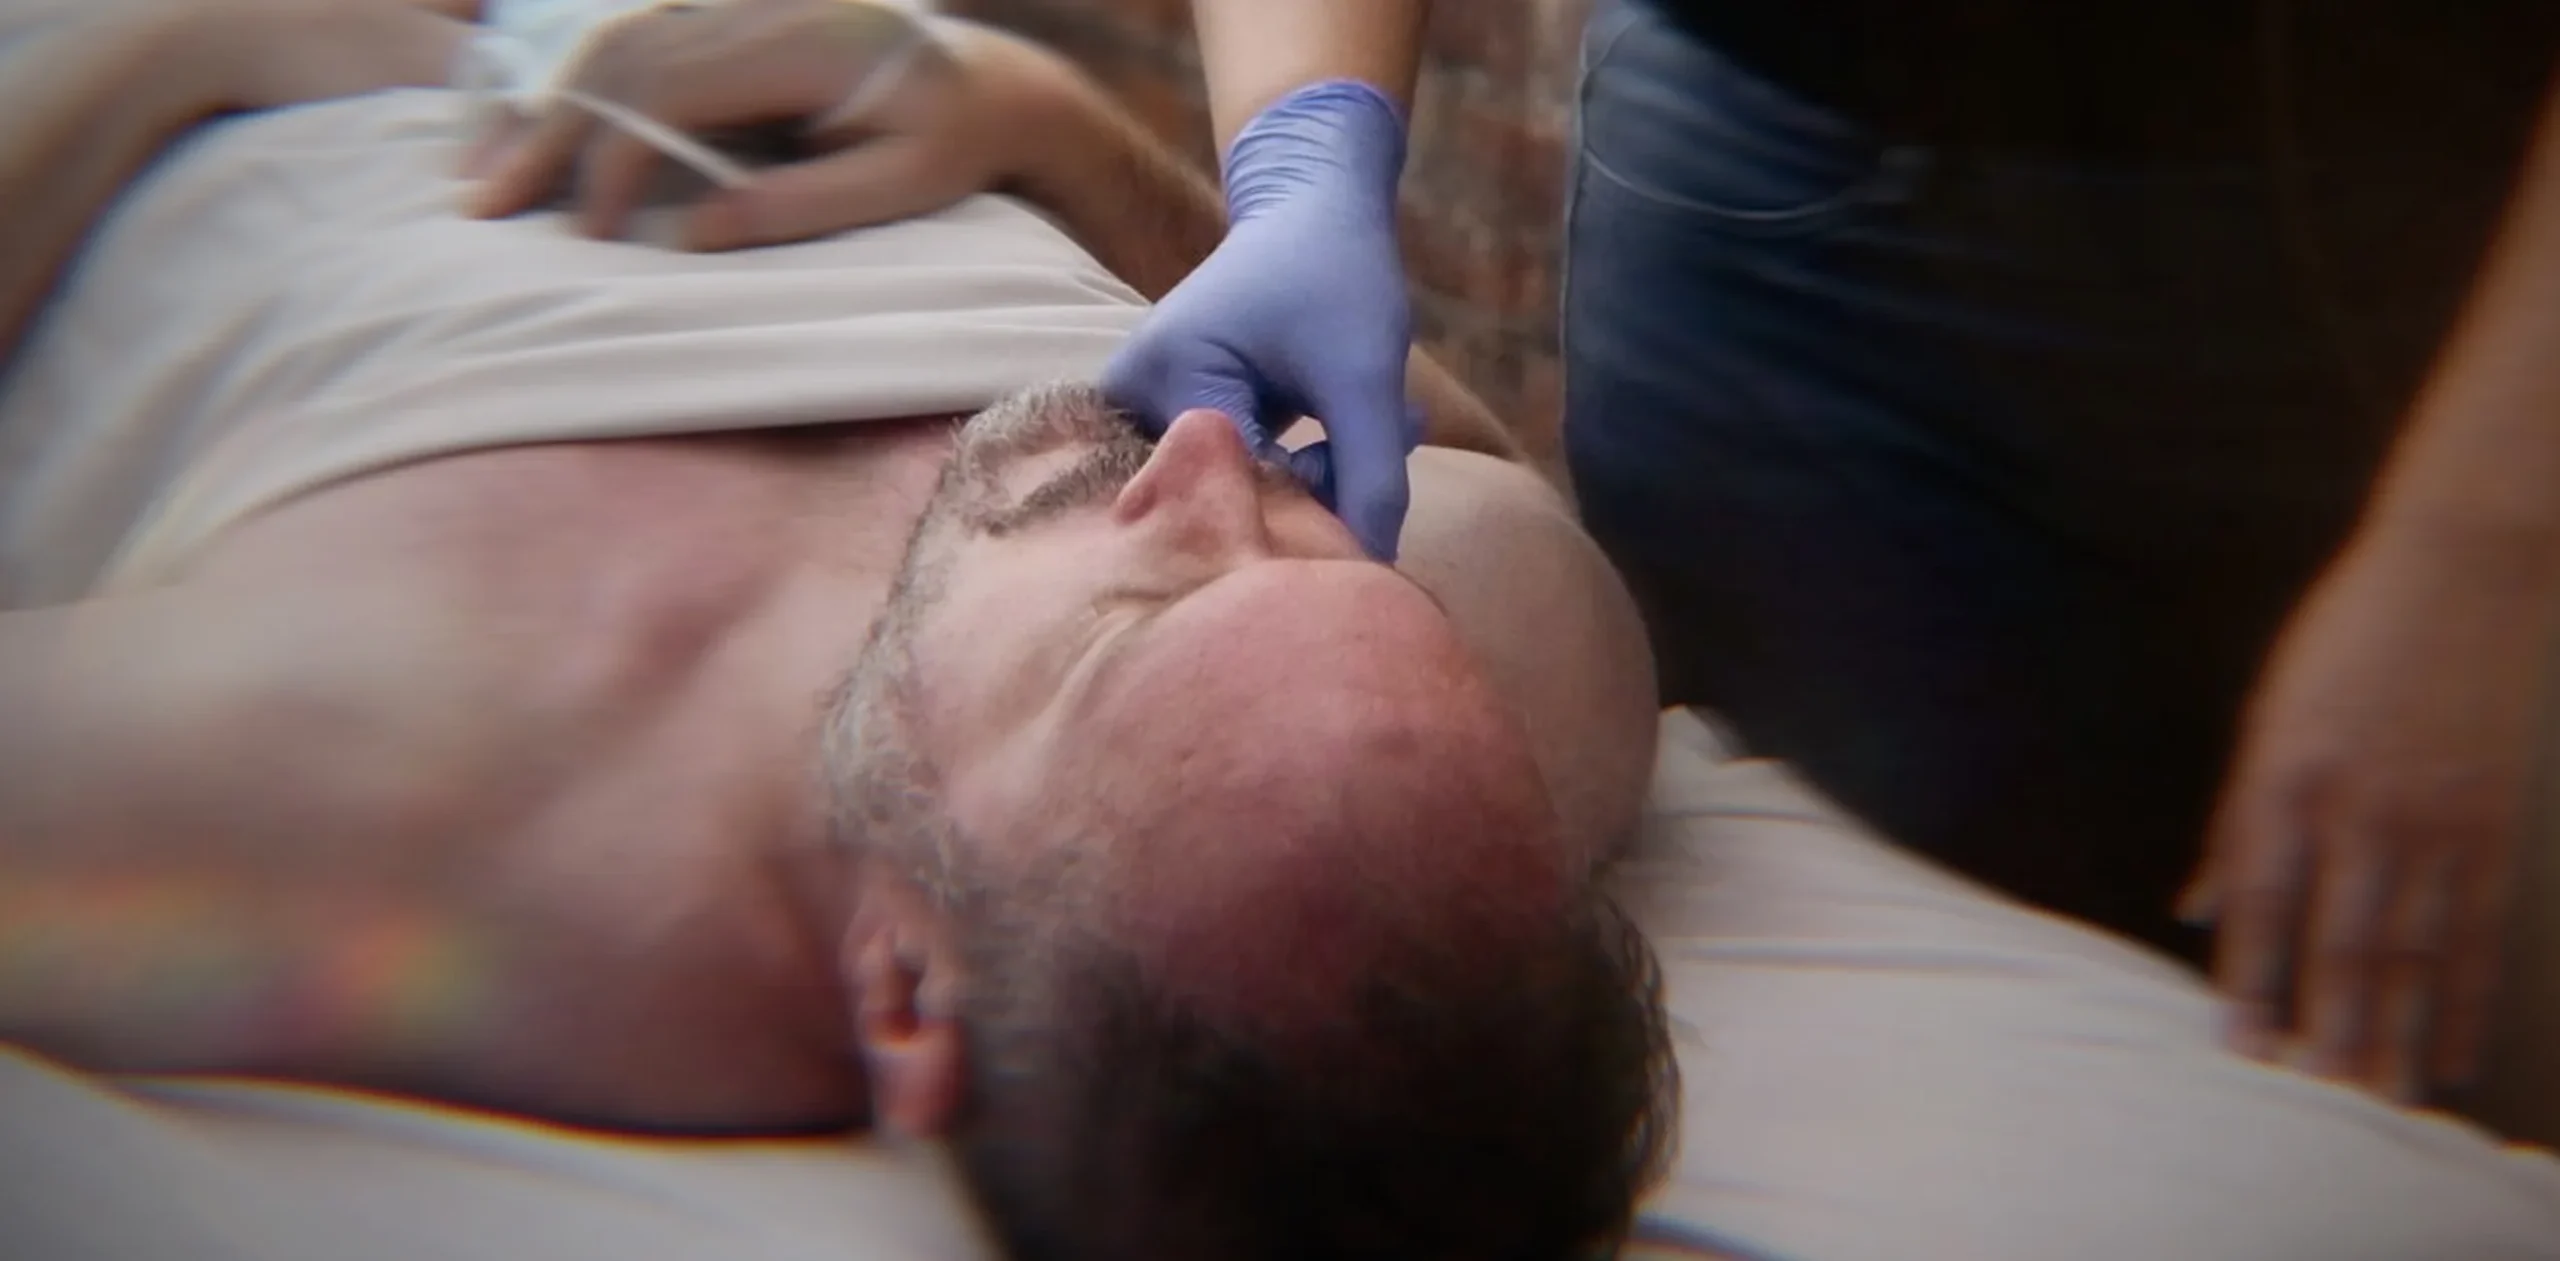
Why the jaw is the last place you should start
It’s easy to think about jaw work as just these muscles here — masseter, temporalis, the bit that hurts. But those muscles sit at the top of a continuous fascial chain that runs most of the length of the body.
It starts at the pubic bone. Up through rectus abdominis. Through the sternal fascia. Up through SCM, around the back of the head into the mastoid process — and there’s a retinaculum band around the back of the skull that loops one side to the other. From there it weaves up into temporalis and down into masseter.
Which means when someone comes in with jaw pain, headaches, migraines, shoulders that never seem to drop, or neck pain that never quite goes — the jaw muscles are frequently not where the tension originates. They’re where it ends up.
Work the jaw in isolation and you’re releasing the top of a rope that’s still being pulled from the bottom. It helps for a day or two. Open the front line first and the jaw muscles release more easily, more deeply, and it holds.
If you’re the person in pain
That’s the short version of why your neck work keeps not lasting. If treatment has been going straight to the sore spot and the relief keeps expiring, the chain above is the usual reason — and it’s why an assessment that only looks at where it hurts tends to run in circles.
It’s also why we’d want to look at your ribs and abdomen before we ever touch your jaw. Not because the jaw isn’t the problem, but because it’s rarely the whole of it.
The sequence — for therapists
The order matters more than any individual technique here. Each step reduces the pull on the next one, so by the time you reach the jaw the muscles are already asking less of you. Everything below assumes you are a licensed massage therapist working within your scope.
One principle runs through all of it: find a depth inside the tissue, then move along that plane. You are almost never pressing down.
1. Rectus abdominis
Opening the base of the front line.
- Three fingers, sliding upward through the tissue
- No downward pressure — you’re skating the surface
- It’s a thin muscle; depth is not required to work it
- Balance both sides
- Optional: a small amount of oil if the skin isn’t moving. Without it, it can feel slightly rug-burny
Watch for: the breath starting to move up into the upper chest, and the sternum beginning to rise and fall more freely.
2. Xiphoid and sternum
Continuing up through the sternal fascia.
- Start just above the xiphoid, not on it
- Work up the sternum, still skating rather than pressing
- With male clients, go slow enough not to pull hair with the stroke
- With female clients, use a chest drape or work under the sheet. The sternum is easy to work through the drape, and it keeps the stroke clear of breast tissue
⚠ The xiphoid can feel genuinely zingy even under very light pressure. Don’t press straight down onto it, and expect a reaction that looks bigger than the force you’re using.
3. Pecs
Releasing the lateral pull on the sternum.
- A little oil here
- Slide across, bringing the point of the elbow past the sternum into the belly of the pec
- Draw gently across, below the collarbone, and out
- Find a depth that feels good and slide along that plane — not down into it
That one I stole from my friend Karden Rabin, about seventeen years ago at school. A decade later I did it on him and he asked what it was and where he could learn it. I had to tell him it was his.
4. SCM and scalenes
Where the front line crosses into the head.
- Rest the head in your palm so you can rock it gently — let gravity roll it while your hand moves, rather than pushing the head
- Make first contact laterally, out near the shoulder, then work in along the collarbone
- Hook the thumb to find the medial edge of SCM and draw it lightly laterally
- The rocking supplies the pin-and-stretch — you don’t need to add pressure
- Then move just above the collarbone and feel for the ropey bands. Those are scalenes, there are several, and a little pressure goes a long way
⚠ Never come straight down onto SCM from above — it’s startling. And stay out of the throat: going too deep here feels awful and is potentially dangerous.
Tension through SCM and the scalenes is also a common driver of headaches and migraines, which is why this step often changes more than neck rotation.
5. Hyoid and trachea
The most delicate part of the sequence.
The rule here is absolute: every bit of pressure is parallel to the table. None of it goes downward. If you feel yourself pressing down at all, stop — you don’t need it, and these are fragile structures.
- Make contact well laterally first, so the nervous system knows where you’re heading before you’re near the midline
- Two fingers, shaping around rather than squeezing
- Movement is side to side only
- The safest way to learn the feel of it is on yourself, sitting, before you ever try it on a client
Watch the video for this one rather than working from the text. It’s simple enough to learn, but it’s a technique you want to see performed before you try it.
6. Temporalis and masseter
Now the jaw, with most of the pull already gone.
- Turn the head about 45 degrees
- Fingers on the temporalis on the upper side, palm resting on the temporalis on the other
- Light pressure, then draw both up toward the crown of the head
- Cross-fibre the temporalis tendon, just above and in front of the ear
- Slide down into masseter — slowly, if there’s a beard
- Look for trigger points and work them with gentle cross-fibre friction
A little goes a very long way in these muscles. It isn’t pressure into the skull: same principle as everywhere else, find the depth and move along the plane.
Watch for: asymmetry. If one side is noticeably tighter, look down the front of the skull through the eye sockets — the jaw often sits slightly toward the tighter side. Common, and worth noting rather than chasing.
7. Frontalis, and a finish
Not a jaw muscle, but it weaves fascially into temporalis.
- Two thumbs at the centre of the forehead, slight pressure, slow spread along the bone
- Then finish with a gentle suboccipital hold: fingers into the suboccipitals, skull resting in your palms, a small amount of backward traction from your whole body
- You don’t need craniosacral training to use this as a closer
The suboccipitals are also where a lot of tension headaches live, so this finisher frequently does more than close the session.
What’s deliberately not here
Intraoral work on the medial and lateral pterygoids, and longus colli work — which involves moving the trachea aside and sinking onto the front of the cervical vertebrae.
Both are legitimate and both are effective. Neither belongs on YouTube or in a blog post. I say so in the video too. They need hands-on instruction, supervision and a licence, and they should be learned live.
That’s what the two-day workshop covers, along with the more advanced head, neck and jaw material.
→ Head, Neck & Jaw — two-day live CEU workshop
And if you’re a client reading this
You don’t need to know any of the above. What’s worth taking from it is that jaw tension is rarely just jaw tension, and that a therapist who only works where it hurts is likely to give you relief that doesn’t last.
→ How we treat TMJ and teeth grinding — or book a 60- or 90-minute visit and say you want the jaw looked at in context.
David Weintraub, LMT – Owner, Bodyworks DW Massage Therapy